
Hello everyone, welcome back to techbrushup. In this tutorial, we will learn how to create a Spring Boot Project with Eclipse. So guys, let's check out the prerequisite first.
Additional info:
prerequisite:
Must have java jdk installed on your machine Official Java Download Link
Your favorite Eclipse IDE. Not installed yet Official Download Link
Create Spring boot Project using spring initializr
Step 1: Go to https://start.spring.io/ and select below details.
- Project: Maven
- Language: Java
- Spring Boot: default
- Project Metadata : Group, Artifact, Name, Description, Package name.

Install Dependency
Step 2: Add depenecy as per project requirement in my case thease are below
- Spring Web
- MySQL Driver
- Thymeleaf
- Spring Data JPA
- Lombok

Step 3: Click Generate Project as zip file.

Step 4: First extracted the zip file,import project in Eclipse for this go to (File -> Import -> Maven -> Existing Maven Project' , browse, select folder and finish it.
Once you click Finish, Maven would take some time to download all the dependencies and initialize the project. That’s it. Your first Spring Project is Ready.

Step 14: Open file where main method is already defined and write print statement.

This print statement is used to confirm wheteher project run sucessfully or not(for later use when you will run your project).
Building The Application
Step 4:Set Build Automatically
Go to (Project -> Build Automatically)

OR
Step 5:Set Build Manual
Find a main class That’s annotated with @SpringBootApplication.
Run The Application
Before run lets first Install run helper tool ie 'spring tool',
Go to Help and choose Eclipse Marketplace.

Search 'spring tool' and install latest one.

Reload Eclipse Once installed 100% .

right Click and choose 'Run as' and further choose 'Spring Boot App'

Step 17: Congrats ! you have created your first project sucessfully.

Above high lighted message is same as you have already set in the main method of SpringBootApplication.
Restart And Stop
Click on relaunch icon

Step 19: Run your application on browsers localhost along with port no (http://localhost:8080/).
Step 20: By default if you see Whitelabel Error Page with status code 400,
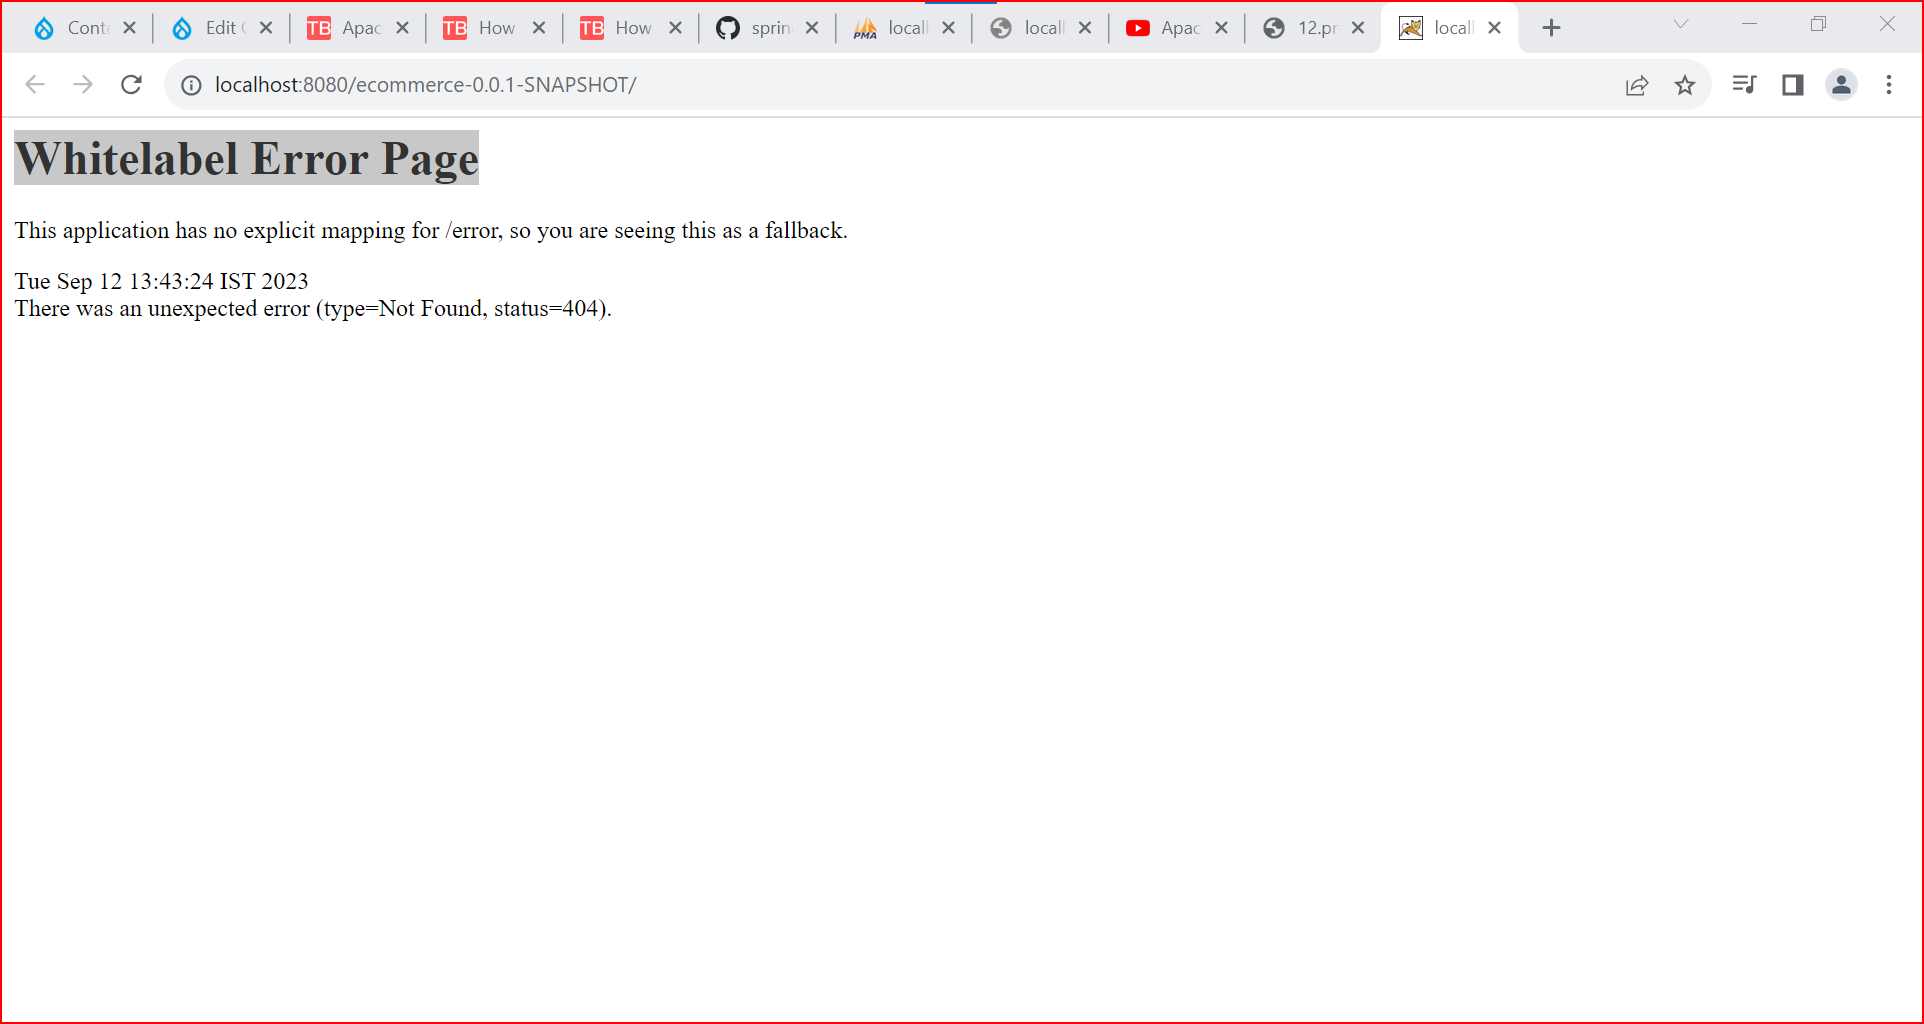
It is expected Because, may be No route configure yet, its time to make your project functional....
lets Create front page route by setting two required properties
			@ResponseBody
			@GetMapping("/")
Step 21: Restart your application and navigate to browsers(http://localhost:8080/).
